I always had a wish to start a fan blog about the Star Trek series. Such as having difficulties remembering learnings from a book without taking notes about it; the Star Trek series is worth taking notes about. And I decided to post my thoughts publicly, which is the best way to blogging. It’s now live at https://captainslog.mesut.me. In my personal blog, https://mesut.me, I’m using Hugo static site builder with markdown files. And I decided to initiate my fan blog with Hugo too, by using the same theme and infra.
A. Design of the Blog
I wrote down the features I want;
- Posting for Each Episode: Without an exception, I wanted to write (and think over) about the episodes. So each episode should have a blog post relation.
- Ranking Episodes: I want to rate each episode under criteria I’ll define.
- Rank Table: I should be able to see the scores in a table.
- Mandatory Fields: Fields for each episode should be mandatory, so the blog system should warn me before saving the post.
- Stardate: Star Trek episodes describe the times of the future. They have a systematic date for interplanetary timings. So my blog should be able to display dates in Stardate format too. So it could be a real Treekie’s blog.
Additional Features
- PDF output: wouldn’t it be nice to have document-like output from a blog post? Maybe someday somebody will find my opinions worth studying, and a PDF would make their lives easier. (Btw, AI could do it better at that time, but I still wanted to execute this idea.) (Live Now)
- Images for each episode would be easier to fetch from movie databases like Imbd, Rotten Tomatoes, etc.(Live Now)
- Sorting in the rank table. (Live Now)
- All episodes are listed to summarize what percentage of the series I watched or reviewed. (Later)
B. Choosing the Platform
I love the static website logic. Instead of rendering the page every time, we can render the sites at build time, especially if it’s a content website, and most of the websites are content websites. So I can use my experience from both AstroJS and Hugo. I was more experienced with Hugo at that time, so I used it.
Hugo and AstroJS don’t provide a GUI, so I have to deal with CLI or code editors like VSCode. To compensate for some UI features like reminding mandatory fields, I needed to write or use a frontend. Luckily, I discovered TinaCMS.
I guess it would be easier to use Astro for customization. At the beginning, I was not thinking much about the customizations. So I wrote half of the content with code editors to save my reviews in Markdown format, but later, by adding more content and fields, code editors and git commits took my time.
If posting took more than 1 minute, it would decrease my willing to post for each episode. So to commit to my desire, I wanted to make the process faster. At the end, by using Astro, I would have one advantage for just one of my scripts, which won’t be a problem with Hugo too.
C. UI / UX Overview
Let’s illustrate the workflow of posting an evaluation for Star Trek episodes;
- I have two icons on my desktop. I open
new_log.commandfile.
![]()
- It opens the browser with the Tina CMS interface. Click to Add Files button.
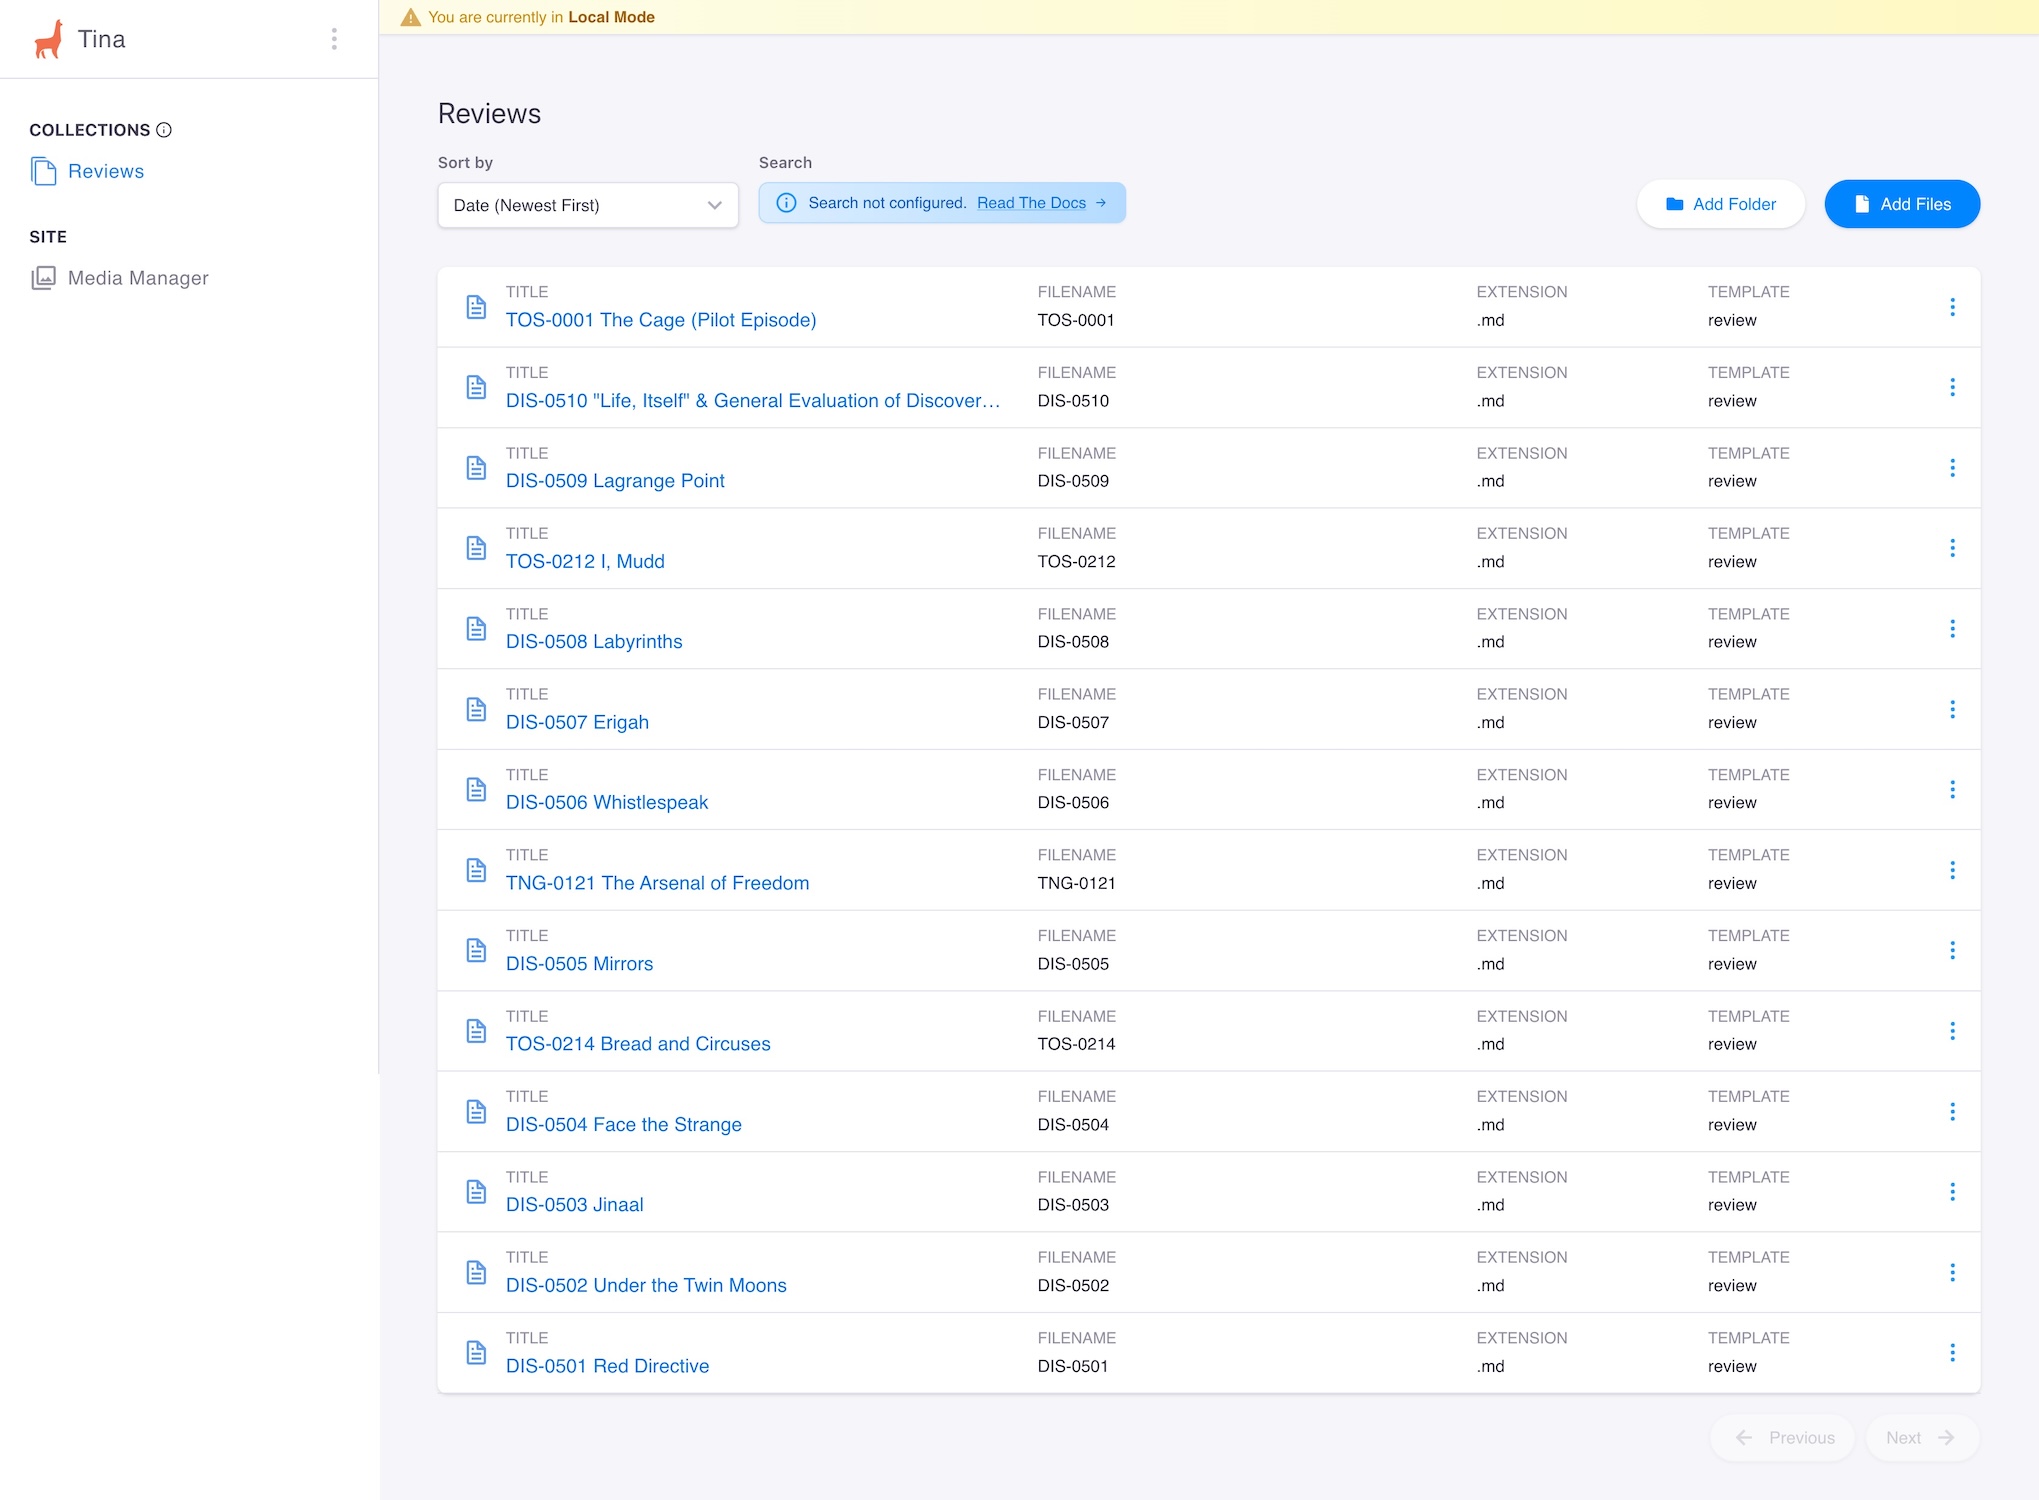
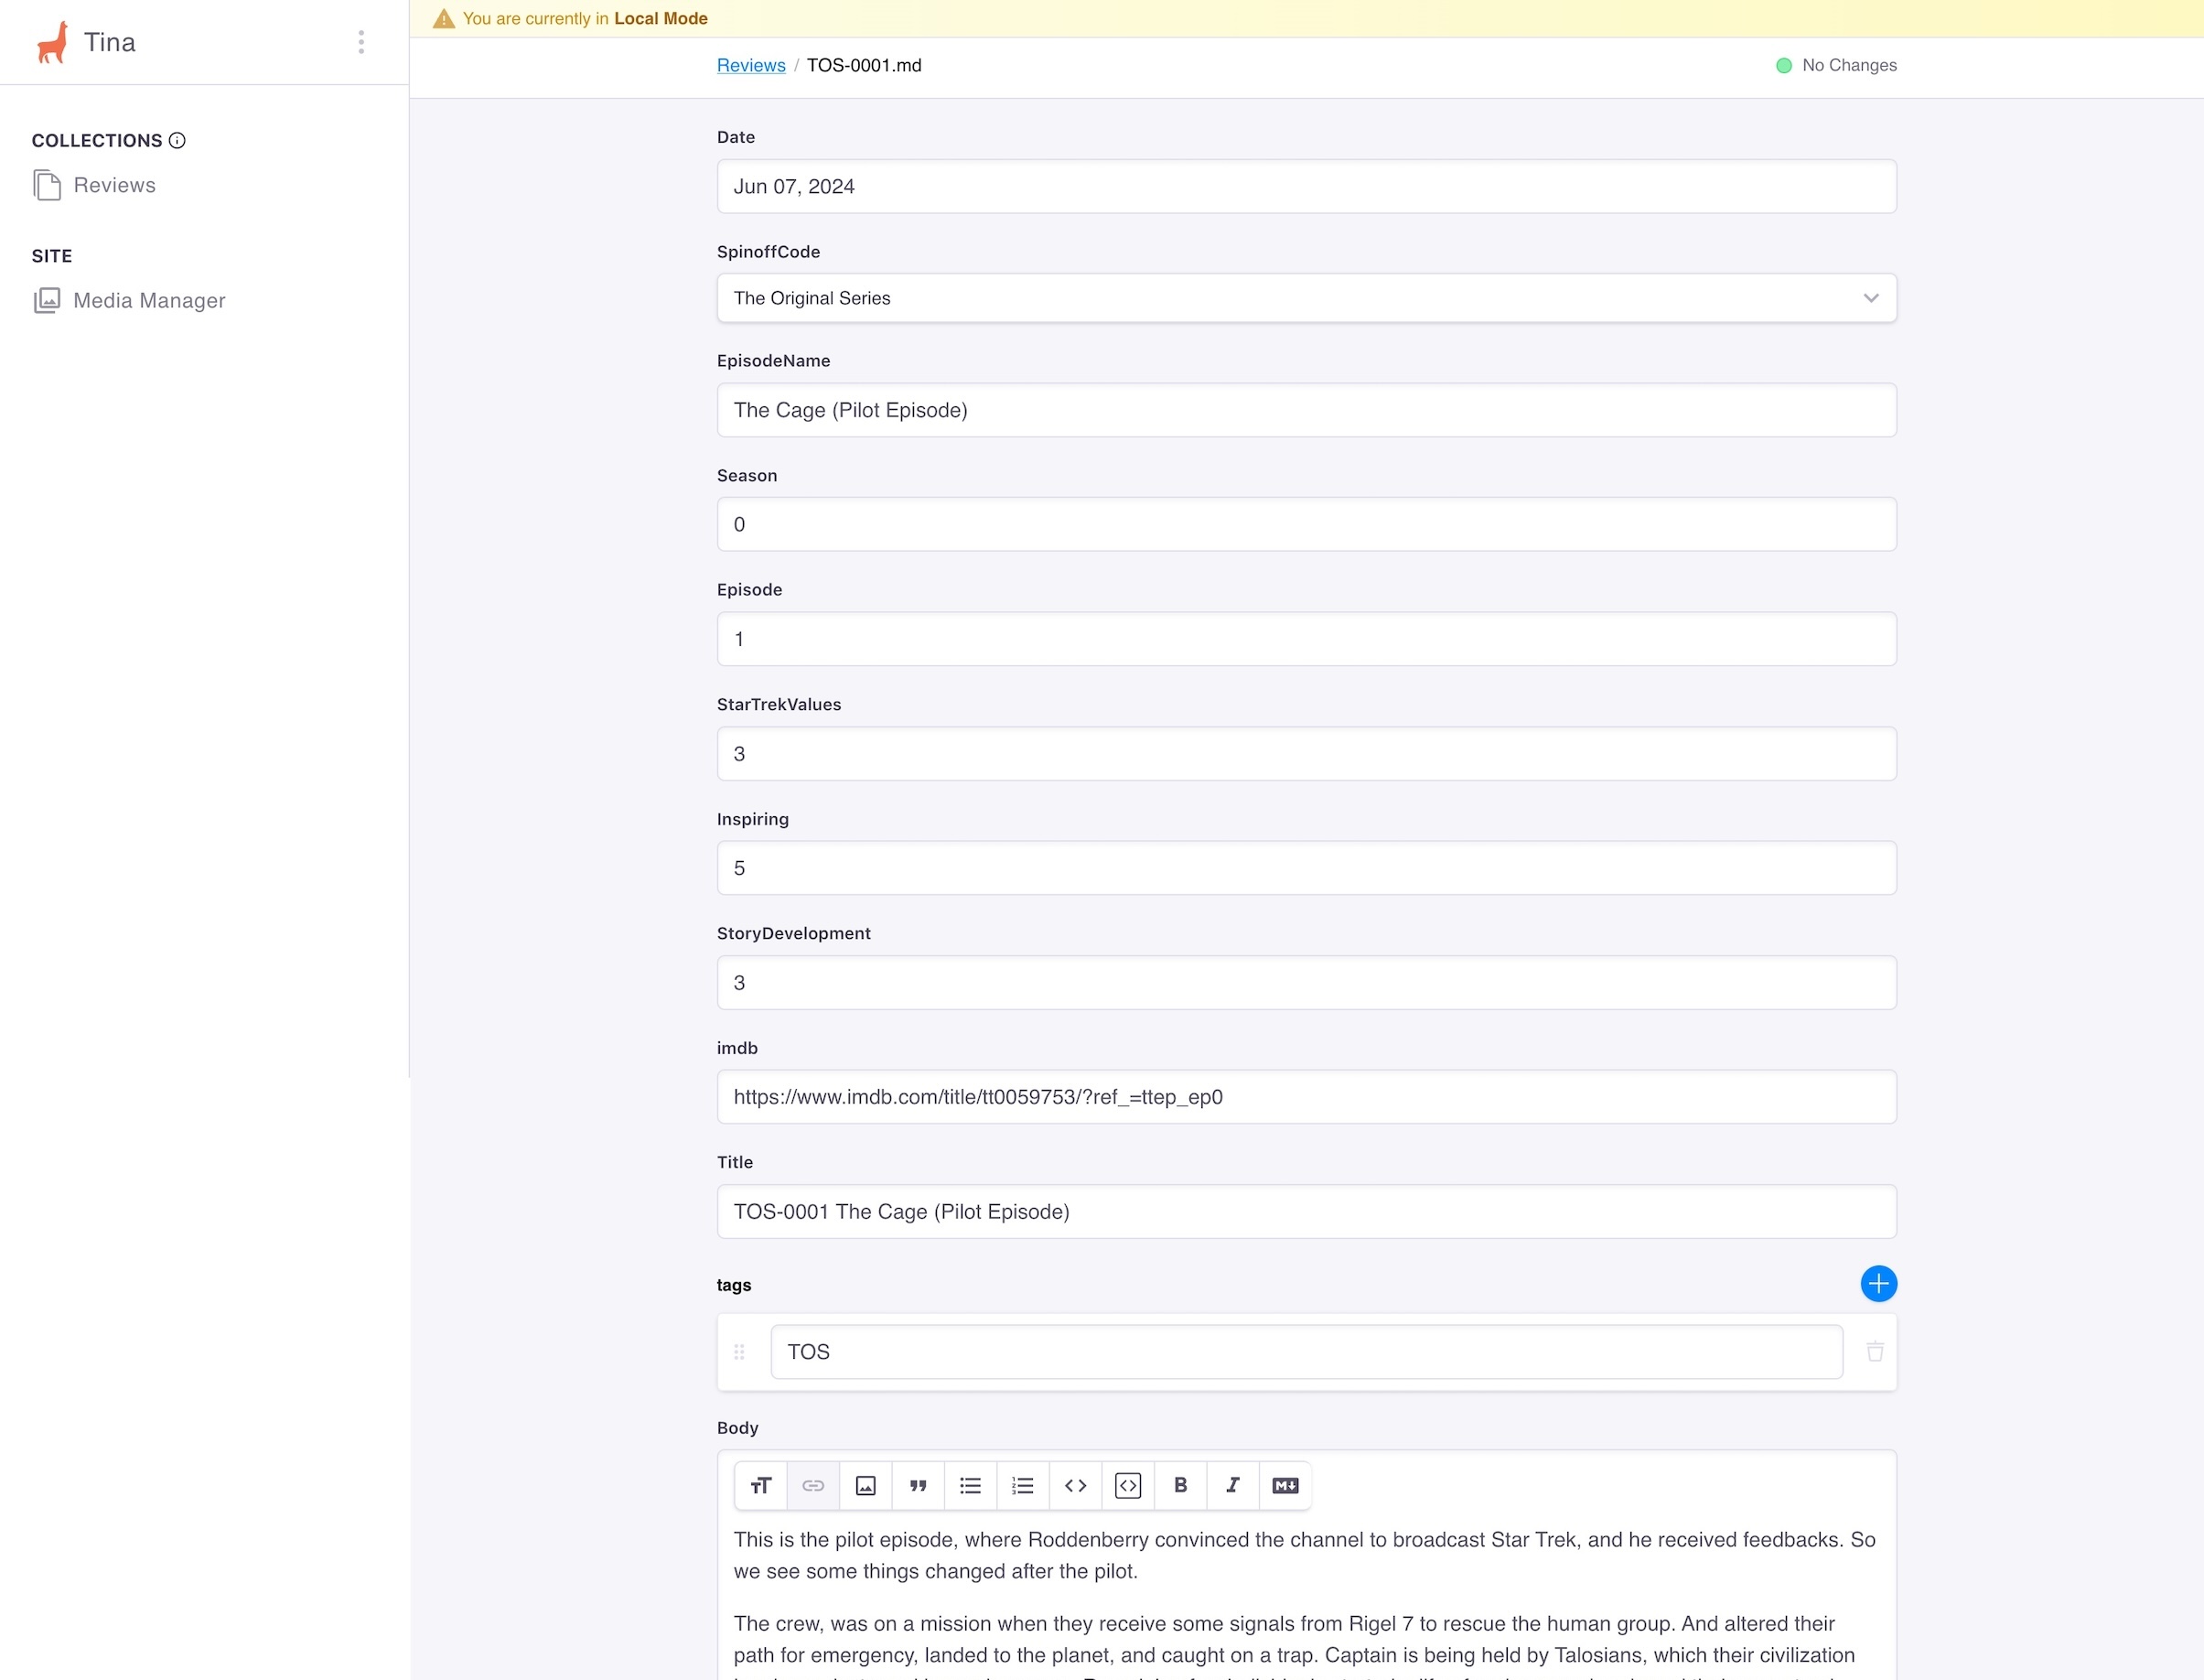
- New File and Edit File screens appear as below.
- After saving this document, I’m closing the TinaCMS by returning to the terminal app opened before and hitting the Control + C keys on Mac.
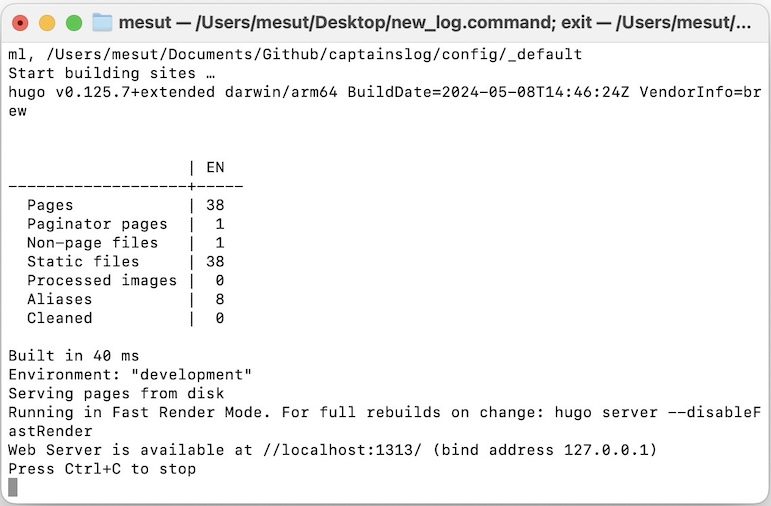
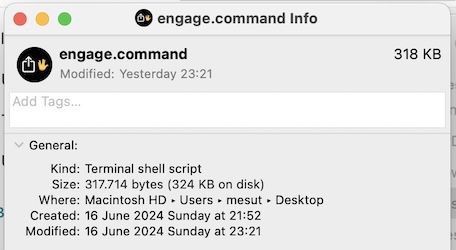
- Then, to preview and/or publish to the web, I’m returning to my Desktop and opening
engage.commandfile.
A new terminal session will be opened, and it will show all the outputs of pipeline scripts. Here is the full output log available (GitHub Gist).
The end result is an updated live website. I only see two terminal windows, (and can ignore them) as technical aspect. I abstracted save and publish actions from my attention.
D. Technical Flow
Here is the full technical pipeline, happening while saving and posting online.

D.1 Tina Configuration
Let’s start with the technical details by integrating TinaCMS to our existing Hugo site project.
npx @tinacms/cli@latest init
This opens an interactive screen to configure our CMS. After completing all the steps, our package.json file will be created.
The important customization is to integrate our Hugo live mode command with Tina. In our package.json file, we should check that the dev or start command should comply to tinacms dev -c "<site-creator-tool-command>" with required escape characters. In my configuration, tinacms dev -c “hugo serve” would be enough. I also wanted to open the browser with the admin portal link and then start the Hugo server. So I customized the command as below:.
{
  ...
  "scripts": {
    "dev": "tinacms dev -c \"open http://localhost:1313/admin/#/collections/review/ && hugo serve\"",
    ...
  },
  ...
}
With the default configuration, Tina CMS doesn’t know what our content file folder structure is or which fields are required. So we should define our content’s fields in tina/config.js file. First, consider our content model in the image below:

Then it’s time to map our design into Tina’s configuration.
The full configuration file can be found here: https://github.com/imesut/captainslog/blob/main/tina/config.js
...
export default defineConfig({
  ...
  schema: {
    collections: [
      {
        name: "review",
        label: "Reviews",
        path: "content/review",
        defaultItem: {},
        ui: {},
        fields: [ <FIELDS WILL BE HERE> ]
      }
    ],
  },
});
Discover the fields array consisted of field object { field | name | required ... }
Default time field, which is markdown front matter field compatible;
{
  type: "datetime",
  name: "Date",
  required: true,
}
Episode Name is standing for defining the episode’s name uniquely;
{
  type: "string",
  name: "EpisodeName",
  required: true,
},
Season and episode number fields share the same structure, with different name fields;
{
  type: "number",
  name: "Season",
  required: true,
},
Entries should include numeric values for scoring under “StarTrekValues”, “Inspiring” and “StoryDevelopment”. The overall score will be calculated by Hugo, not TinaCMS, so we’re not defining it here.
  {
    type: "number",
    name: "StarTrekValues",
    required: true,
  },
To store an external movie database link (Imbd), let’s define a string field.
{
  type: "string",
  name: "imdb",
  required: true,
},
My Hugo theme, Papermod, accepts entries’ cover photos in front matter with two fields: “image” and “alt”. In the markdown file, the front matter for the cover photo is defined as below:.
---
...
cover:
  image: /episodeImages/DIS-0505.jpg
  alt: Cover Photo of DIS 0505 Mirrors
...
---
And here is the mapped version of these fields in the Tina configuration:
{
  label: "Cover Photo [AUTO]",
  name: "cover",
  type: "object",
  fields: [
    {
      name: "image",
      type: "string"
    },
    {
      label: "ALT Text",
      name: "alt",
      type: "string"
    }
  ]
}
⚠️ I wanted to remind you that alt text is crucial to making sense to our users with disabilities. They can understand the context better and be included in the experience we provide. Who doesn’t want to have a larger audience? Let’s support accessibility to reach a wider audience.
The last customization we should define is the indicator of spinoff. Star Trek has more than 13 spinoffs. Each one is unique in their base story, so we should be able to categorize our posts easily by both tagging the posts with a spinoff code and dedicating a field for them.
{
  type: "string",
  name: "SpinoffCode",
  required: true,
  options: [
    {
      "value": "TOS",
      "label": "The Original Series"
    },
    ...
  ]
},
The options field allows us to show a select view in the admin page from the options provided with value and label fields. I mapped the JSON object from the original data/spinoffs.json file to just display values and labels. When a new Star Trek spinoff is announced, I can update my original JSON file and map my data again or manually enter the new spinoff.
The last configuration is the default fields for the entries, valid for all Hugo or AstroJS powered websites;
{
  type: "string",
  name: "Title",
  label: "Title",
  isTitle: true,
  required: true,
},
{
  label: 'tags',
  name: 'tags',
  type: 'string',
  list: true,
},
{
  type: "rich-text",
  name: "body",
  label: "Body",
  isBody: true,
}
As an addition to mapping the fields, Tina gives us some methods to calculate some values or define some on save actions.
To define the cover photo and alt text automatically, inside our defineConfig method’s object taking parameter’s schema.collections.defaultItem value, we can define the field’s default values. These will appear when a new document is created.
collections: [{
  ...
  defaultItem: {
    Title: "SPN-SSEE [AUTO]",
    cover: {
      image: "/episodeImages/SPN-SSEE.jpg[AUTO]",
      alt: "Cover Photo of <SPN-Episode Name> [AUTO]"
    }
  },
...
}]
When “engage"ing our blog (publishing), the script will fetch images from the IMDb link and store them in the relevant folder, so cover photo fields won’t be changed. Because of that, I marked those with AUTO keywords.
I’m also setting a default value for the title because it cannot be left empty. And I want to set the title according to some other field values. So the user (=me) shouldn’t write anything in that field. My deaultItem just contains placeholders for making sense to the user to not enter a manual input.
After entering the spinoff code, season, and episode info, the title name, the filename, the cover photo’s filename, and the alt text should be set by following the SPN-SSEE template. For example, “TOS-0205” is for Star Trek “The Original Series” (TOS), Season “2”, Episode “5”.
To accomplish this, we’re setting an object of ui under schema.collections[n] instance.
ui: {
  filename: {
    readonly: true,
    slugify: (values) => {
      return values?.SpinoffCode + "-"
             + ("0" + values?.Season).slice(-2)
             + ("0" + values?.Episode).slice(-2)
    },
  },

  beforeSubmit: async ({form,cms,values,}) => {
    return {
      ...values,

      cover: {
        image: "/episodeImages/"
               + values.SpinoffCode + "-"
               + ("0" + values?.Season).slice(-2)
               + ("0" + values?.Episode).slice(-2) + ".jpg",
        alt: "Cover Photo of "
               + values.SpinoffCode + " "
               + ("0" + values?.Season).slice(-2)
               + ("0" + values?.Episode).slice(-2) + " "
               + values.EpisodeName
      },

      Title: values?.SpinoffCode + "-"
             + ("0" + values?.Season).slice(-2)
             + ("0" + values?.Episode).slice(-2) + " "
             + values?.EpisodeName,
    }
  }
}
That’s all for the Tina configuration.
In summary, Tina was so easy to append to an existing project with simple commands and an interactive guide. Then it’s easy to map the fields and customize them. I just spent some time researching on beforeSubmit and ui object’s details. You can take advantage of this blog post or clone my captainslog website repository from GitHub.
D.2. External Script Customizations
I wanted to fetch IMDb links for the episodes and fetch preview images from IMDb defined with a meta tag of og:image. I was thinking about writing a simple script to iterate over the markdown files, parse the episode codes, IMDb links, etc., and download the image.
TinaCMS provides a GraphQL endpoint, which allows us to query the registered contents. Tina runs a graph server from port 4001, and fetching the data was so easy with the query below.
query: `{
  reviewConnection {
    edges {
      node {
        SpinoffCode,
        Episode,
        Season,
        imdb
      }
    }
  }
}`
After fetching the information, my script fetchIMDBFeaturedImages.mjs is checking whether the cover image for the episode exists or not, from the specified cover photos folder path. If it doesn’t exist, the script fetches the IMDb link and downloads the image specified on the page.
Sometimes IMDB uses a poster photo of the season instead of providing a specific image for the episode. But in general, it works fine.
The rest of the script can be found here; fetchIMDBFeaturedImages.mjs (GitHub).
D.3. Customizations on Hugo
In general, I customized the layouts under 3 items;
- Stardate Converter
- Adding a
/pdfpage and layout for PDF generation - Spinoff Data and Rank Table Layout
D.3.1 Stardate Converter
Here’s an example of Stardates to be used in my blog. I’m stating the creation time of the entry in Stardate format.
| Earth Date (YYYY-MM-DD) | Star Date |
|---|---|
| 1966-09-08 |
-356394.52 |
| 2024-05-14 | -298631.14 |
| 2323-01-01 | 0 |
Approximately 1 month ago, I published a repository named Stardate-Hugo, which is a partial template of Hugo. By calling this partial in an HTML template, stardate conversion can be easily used.
{{- partial "stardate.html" (dict "date" .Date) -}}
The implementation of Stardate can be found in, layouts/partials/stardate and layouts/partials/post_meta files.
D.3.2 PDF Layout
PDF layout first requires and empty markdown (or substituted HTML page) in our desired path. By assuming that the layout page is named pdf.html, we can state the layout type in the front matter as below. This statement will fetch the layout from the layouts/_default/pdf.html path, or if it doesn’t exist, it’ll fetch it from the selected theme’s folder.
---
layout: "pdf"
---
Now we can define our layout file step by step;
First, we’re defining a base for making the link and image sources originate from my blog. Because during the build phase, the files are on my local machine, and the generated links in the PDF will be for localhost. So we’re defining the base to redirect links to the blog’s address.
<body>
  <base href="https://captainslog.mesut.me" />
...
Then, inside the body, we can split the layout codes into different sub HTML files as partials.
{{/*  A. Cover Page  */}}
{{ partial "PdfCoverPage.html" . }}

<div class="divider"></div>
Simply add content from the main content folder; we’re calling a for loop, like below.
{{/*  B. Static Pages  */}}
{{ with .GetPage "/" }}
  {{ .Content }}
{{ end }}
I’m fetching data from the data/spinoffs.json file, then extracting the keys of the spinoffs object.
{{/* Get Spinoff Codes */}}
{{ $spinoffData := index .Site.Data "spinoffs" }}
{{/* https://github.com/gohugoio/hugo/issues/5959#issuecomment-1951373707 */}}
{{ $keys := slice }}
{{ range $k, $_ := $spinoffData }}
    {{ $keys = $keys | append $k }}
{{ end }}
By using the keys from the object, like a for loop, I’m collecting all the entries from the blog, if the spinoff code values match. Then I’m printing that entry’s title inside a list item for placing a table of indexes in a PDF.
{{/*  B1. Getting Spinoff List */}}
{{ range $key := ($keys | collections.Reverse) }}

{{ $pagesInThisSpinoff := where $.Site.RegularPages "Params.spinoffCode" $key }}

  {{/*  If there is at least 1 review, list contents with title.  */}}
  {{ if gt ($pagesInThisSpinoff | len) 0 }}

    {{ $spinoffInfo := index $.Site.Data "spinoffs" $key }}

      <strong>
        {{ printf "%s (Aired First in: %d)" $spinoffInfo.name ($spinoffInfo.year | int) }}
      </strong>

      <ul>
        {{ range $pagesInThisSpinoff | collections.Reverse }}
           {{
             $postId := printf "%s-%s%s" (.Page.Param "SpinoffCode")
                         (printf "%02d" (.Page.Param "Season"))
                         (printf "%02d" (.Page.Param "Episode"))
           }}
            <li><a href="#{{$postId}}">{{.Title}}</a></li>
        {{ end }}
      </ul>

  {{end}}

{{end}}
Then, using the same approach, we can fetch .Content of the page, or we can pass the whole entry data with .Page parameter to a partial to customize the appearance.
{{ range $pagesInThisSpinoff }}
  {{ partial "PdfFragment.html" .Page }}
{{ end }}
D.3.3 Rank Table Layout
The ranking page contains some content and a table of evaluations customized in the shortcode at layouts/shortcodes/CLTable.html
<table class="sortable" id="CLTable">
  <tr>
    ...
    <th>Episode Name</th>
    <th>Episode No</th>
    ...
  </tr>
  {{- range (where .Site.RegularPages "Section" "review") -}}
    {{ $values := .Param "StarTrekValues" }}
    ...
    <tr>
      ...
      {{ $code := .Param "SpinoffCode"}}
      {{- $seasonNo := printf "%02d" (.Param "Season") -}}
      {{- $episodeNo := printf "%02d" (.Param "Episode") -}}
      ...
      <td><a href='{{ $link }}'>{{$episodeName}}</a></td>
      <td>{{- $episodeNo -}}</td>  */}}
    </tr>
  {{- end -}}
</table>
I’m not storing the overall score in front-matter; by the way, it’s easily doable with the ui described above. But by considering the possibility of altering the markdown contents manually, a change of one value might not reflect on the overall score, so I put a line of calculation for the overall score. It’s multiplication of 3 scores over 5 and dividing the result to (5*5*5) to normalize points on a 0 to 100 scale.
{{- $totalScore := div (float (mul $values $inspiring $storyDev 100)) (mul 5 5 5) -}}
And with the addition of an open-sourced script, I made the table sortable, and I didn’t dive into JS or CSS coding so much.
<script src="/sorttable.js"></script>

<style>
  table.sortable th:not(.sorttable_sorted):not(.sorttable_sorted_reverse):not(.sorttable_nosort):after{
    content: " \25B4\25BE";
  }
</style>
D.4. Orchestrating and Pipelining the Scripts
As I described in the UI/UX Overview title, I defined two files / icons for opening the blog in edit and publish mode. The contents of the files are so simple:
new_log.command
cd ~/Documents/Github/captainslog; npm run dev
Enters into the path of the main directory and runs the npm script for “dev”
engage.command
cd ~/Documents/Github/captainslog; npm run publish
Enters into the path of the main directory and runs npm script for “publish”
One tip:
To define an icon for a file on macOS, you can right-click on the file, then select Get Info. And you can drag and drop an image file into the area where the current icon appears.
So the real magic is inside package.json file’s scripts field;

{
  "scripts": {
    "dev": "tinacms dev -c \"
                             open http://localhost:1313/admin/#/collections/review/
                             && hugo serve
                             \"
           ",

    "pdf": "/Applications/Google\\ Chrome.app/Contents/MacOS/Google\\ Chrome
           --headless
           --print-to-pdf=public/captainslog.pdf
           --no-pdf-header-footer
           file:\/\/$(pwd)/public/pdf/index.html;

           cp public/captainslog.pdf content/captainslog.pdf;",

    "images": "node fetchIMDBFeaturedImages.mjs",

    "build": "tinacms dev -c \"hugo; npm run images\"; npm run pdf",

    "publish": "npm run build; netlify deploy --dir=public --prod;"
  },
}
devscript opens tinacms with the sub-command hugo live mode;hugo serveand opens the admin page in the browser.pdfscript generates the PDF file with Chrome’s headless mode.* It doesn’t require running while Tina is working, because it uses the output files generated by Hugo.imagesscript uses Tina’s GraphQL endpoint and fetches content; it should be run while Tina is running. Because of that, it will be called the inside Tina.buildscript utilized the Hugo build command, then generated images with the images script above, then generated the PDF defined above; all of that will happen while Tina is running.publishscript callsbuildand when it has been terminated, it uses the Netlify deploy command. Nothing remains open after deploying the updated site.
*I tried multiple ways of outputting PDF from a markdown file. Actually, with pandoc, it’s easy to do it. But my markdown contents are being rendered with custom HTML layouts, so the best reliable way was to use a headless browser like chromium, apps for test automations, etc. I picked Chrome, as it’s an existing app on my Mac.
Why am I not using CI/CD for builds?
I can generate the content within minutes and deploy it within a few seconds. CI/CD deployment was easy at the beginning. I was saving files, committing and pushing to the main, and then CI was deploying the site. But it was so slow, and it was against my less time with overheads understanding. Actually, I’m a solo-author, so I don’t need a centralized place to manage deployments, and I don’t have any conflict.
If I had multiple authors, maybe static websites wouldn’t be a suitable option. I might consider WordPress or other dynamic CMS solutions, plus I would cache the pages with a plugin for loading the pages faster.
I also didn’t integrate Tina to push my file changes to my repository. Tina is capable of managing changes over a repository too with a Git credential. Even allow separate content and website repositories.